Why Should you Sterilize Garden Tools?
Sterilizing helps to prevent the spread of plant diseases by removing harmful pathogens like fungal spores, bacteria, and viruses from your garden tools, so that they cannot be passed between plants, keeping your plants healthy. For example, powdery mildew in cucumbers and, or fire blight in apple trees.
This regular maintenance task can also help to prolong the lifespan or your garden tools; removing dirt and moisture, preventing rust and thus reducing wear that can shorten their lifespan.
It can also help you to maintain a healthy soil ecosystem in your garden, by not introducing harmful microorganisms to your soil, which can disrupt the natural microbial balance. This can be especially problematic when working with different soil types or areas prone to disease.
Pathogens Can Survive Longer Than You Think
Time alone between garden sessions is not enough to prepare your tools for their next use. Some plant pathogens can survive on tools for months. This includes fungal spores, which take hold in the hidden crevices, scratches and pits of tools. A rinse under water and the use of dishsoap are excellent for pre-cleaning, but will not kill pathogens. Cleaning and disinfecting after use is the best waty to minimize these disease tranfer risks.
Garden Tools Sterilization Checklist
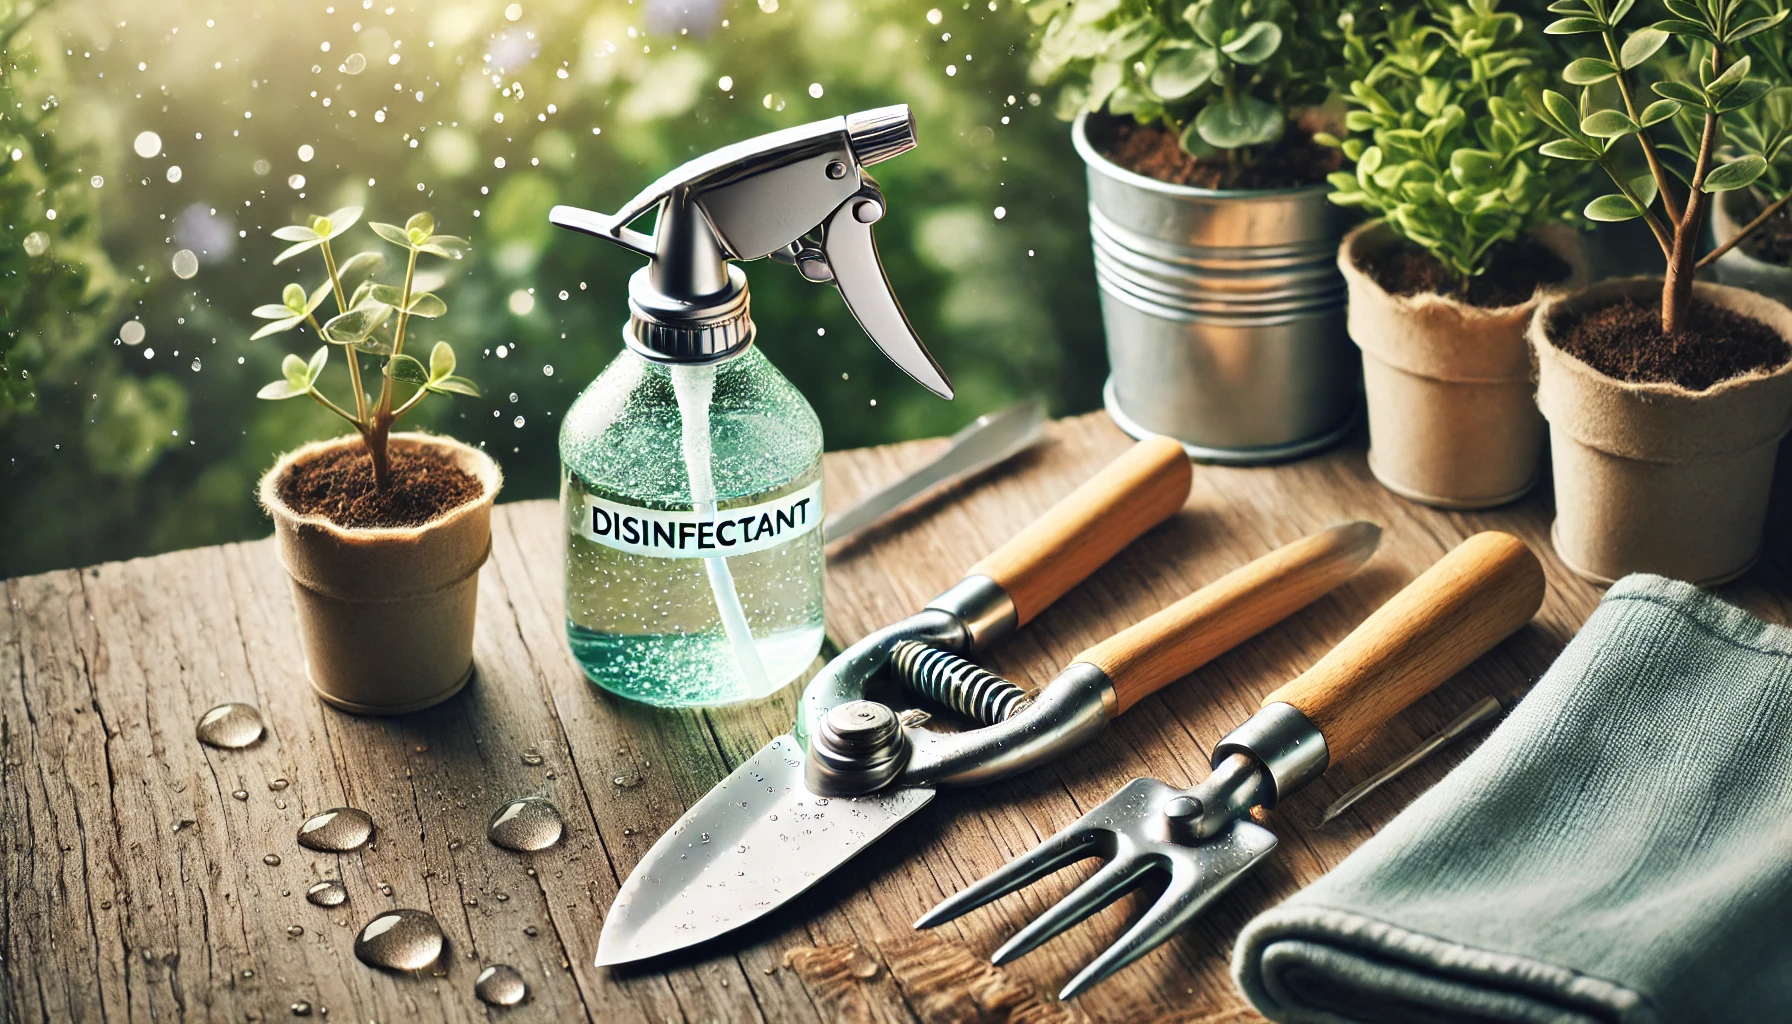
Here’s a checklist of items to have on hand before sterilizing your garden implements and gardening tools:
Cleaning Brushes: For scrubbing away excess dirt and debris.
Soap and Warm Water: To soak any stubborn buildup on your tools.
Disinfectants: Bleach, hydrogen peroxide, or white vinegar.
Protective Gloves: To protect your hands from the chemicals.
Microfiber Cloths: For drying and polishing your tools.
Buckets or Containers: To soak your tools in disinfectant solutions (if required for chosen method).
Lubricating Oil: To prevent rust after cleaning.
4 Effective Garden Tool Sterilization Methods
For this article, we will focus on 4 methods of sterilisation – all 4 are easy to pick up in local grocery or hardware stores, or you will have access to at home. Each has its own pros and cons, so have a read through them all and select that based on the approach that resonatates best with you or what products you have available. Keep in mind that these either involve chemicals or heat. Some disinfectants can emit harmful fumes and may also cause skin burns, so always important to keep safety in mind – read labels and wear personal protective equipment and take steps to minimize any risks to yourselves and the environment.
1. Bleach Solution For Sterilizing Garden Tools
Pros: Bleach is a very effective disinfectant, effectively killing most bacteria, viruses, and fungi within 5 minutes. Though, you’ll need up to 10 minutes for some tougher pathogens such as fungi spores.
Cons: It does, however, come with a number of down sides. If not rinsed off properly, it can damage the non-metal parts of your tools (it’s corrosive). It is a toxic substance (particularly in waterways), harmful to humans, animals, plants, soil and beneficial organisms. Therefore, it must be used with caution and disposed of safely, and you’ll want to make sure that you have thoroughly washed it off your tools before using it in the garden.
2. Hydrogen Peroxide For Sterilizing Garden Tools
Pros: Another very effective disinfectant that can effectively disinfect pruning tools, and less corrosive than bleach on your garden tools. It’s also eco-friendly, as it breaks down into just water and oxygen (even if it gets in the water) so no nasty harmful residue or environmental damage. This means a quick rinse off of your tools and you’re good to go.
Cons: It’s not as strong as bleach, so while 5 minutes will still work on most pathogens, for stronger pathogens – such as the Tobacco Mosaic Virus – you may need up to 20 minutes to be safe. It can cost more per unit to buy than bleach, which is something to keep in mind if you’re working on a budget. And, it is important to store it properly – as it will start to break down when exposed to light or heat, reducing its effectiveness.
3. White Vinegar For Sterilizing Garden Tools
Pros: Another fully biodegradable, eco-friendly sterilization option, with both antifungal and antibacterial properties. It is non-corrosive to metal and safer for rubber, plastic, and wood than the other alternatives. It will also work to dissolve and mineral deposits and sap build up on your tools.
Cons: This method is the weakest of the 3 options so far, requiring 15-30 minutes for general bacteria and fungi. It is also less effective against viruses and hardy pathogens. It’s reduced strength, makes it ideal for more regular, routine cleans and maintenance, but not best option for disinefecting anything a little stronger from the garden.
4. Boiling Water For Sterilizing Garden Tools
Pros: It kills most bacteria, fungi, viruses, and even some fungal spores upon contact (30 sec to 2 minutes). There’s no chemicals involved – making it safe for the environment. And, it will not corrode your metal tools.
Cons: It may not be practical for all tools that you are looking to clean, eg large tools might (they might not fit in the pot) or tools with non-metal components (like wood or plastic which can degrade and warp from the heat). It takes time to get the water boiling and uses up enegery to do so. Tools will need to be dried thoroughly to prevent rust after cleaning. And, of course, it’s boiling water – so it’s important to to stay safe and handle it with care to avoid burns.
Step-by-Step Guide to Sterilize Garden Tools
1. Pre-Clean Your Tools To Maximize the Effectiveness The Sterilization Process
Before disinfecting, you’ll want to pre-clean your garden tools. This removes dirt, sap, and debris, enabling the disinfectant to effectively coat and sterilize the blade and surface of your garden tool
If there’s soil or grime built up, first scrub your tools with a wire- or stiff brush. You can use warm, soapy water to help loosen stubborn grime. Finish by rinsing thoroughly and give your tools a pat dry with a clean cloth.
2. Select And Your Sterilizing Solution And Method.
Select the disinfecting method that best suits your purpose. See below for recommended concentrations and contact time. Tools can be soaked or wiped (for chemical applications). For soaking, submerge pruners and other garden tools in your chosen solution. Alternatively, wipe tools thoroughly with a cloth soaked in the disinfectant.
Bleach: Mix one part bleach with nine parts water. For 5-10 minutes.
Hydrogen Peroxide: Use 3% hydrogen peroxide directly on your tools. For 5-20 minutes.
White Vinegar: Use a 4-5% concentration of white vinegar for 15-30 minutes.
Boiling Water: Immerse tools for 2-5 minutes.
Step 3: Rinsing And Drying
For the 3 chemical options, make sure to rise your tools with clean water to remove any chemical residue. Be extra thorough if using bleach. Then, dry your tools immediately with a cloth to help prevent rust.
Step 4: Storing Garden Tools After They Are Sterilized
Before storing your tools away, apply a thin layer of lubricating oil to metal parts to prevent rust. This can be a specially formulated oil from the hardware store, if using on pruning tools intended for fruits and vegetables, double check that it’s safe to use for this purpose. Alternatively, a light coating of cooking oil can work just as well (spray oil can be particularly handy here). Pay particular attention to blades and hinges (moving parts) to keep them functioning smoothly. Remember to wipe off any excess with a dry cloth.
Then store your clean garden tools in a dry, well-ventilated area to keep them sterile for their next use.
When and How Often Should You Sterilize Garden Tools?
After Working with Diseased Plants
Always sterilize tools immediately after using them on infected plants to prevent the spread of pathogens.
Seasonal Maintenance
At the start and end of each gardening season, give all your tools a thorough cleaning and sterilization.
Sensitive Areas Like Vegetable Gardens
For tools used in edible gardens, sterilize more frequently to avoid contaminating your food crops, particularly if working on plants prone to diseases.
After Purchasing New Tools
New tools may carry residues or contaminants from the manufacturing process. A quick sterilization will ensure that they’re safe to use, and will not transmit any new pathogens into your garden.
Advanced Tips for Long-Term Care of Your Tools
Make Yourself a DIY Cleaning Station Setup
Create a dedicated tool-cleaning station in your garden shed or garage. Consider including (1) A sturdy workbench, (2) Hooks for hanging tools, (3) A bucket of pre-mixed disinfectant solution, and, (4) Brushes and microfiber cloths readily available.
Sharpen Your Tools During Their Maintenance Routine
While sterilizing, inspect your tools for dull edges. Use a sharpening stone or file to maintain cutting edges on pruners, shears, and pruning shears. Sharp tools make cleaner cuts, making the incisions easier for them to heal thus providing less opportunities for pathogens to take hold.
Mark Tools for Different Uses
To prevent cross-contamination, consider marking your tools with color-coded tape or labels depending on their tasks or areas in the garden. For example, Green = healthy plants, Red = diseased plants, Blue = soil work.
Care for Your Wooden Handles to Minimise the Spread of disease
While eco-friendly, wooden handles can harbor bacteria and fungi when uncoated. To help both preserve the life of your tools and also minimise the spread of disease within your garden, consider also the upkeep of the wooden elements of your tools.
To achieve this, sand the wood lightly then apply a thin layre of linseed oil. This will seal them to protect against both moisture and microbes. Alternatively, you might wish to paint them a colour of your choice.